How to Edit Text in Image: The Ultimate Guide to Seamless Modifications
How to Edit Text in Image: The Ultimate Guide to Seamless Modifications
We have all been there. You have the perfect photograph for your marketing campaign, a hilarious meme you want to repurpose, or a crucial screenshot for a presentation. The lighting is perfect, the composition is spot-on, and the resolution is crisp. There is just one glaring problem: the text is wrong.
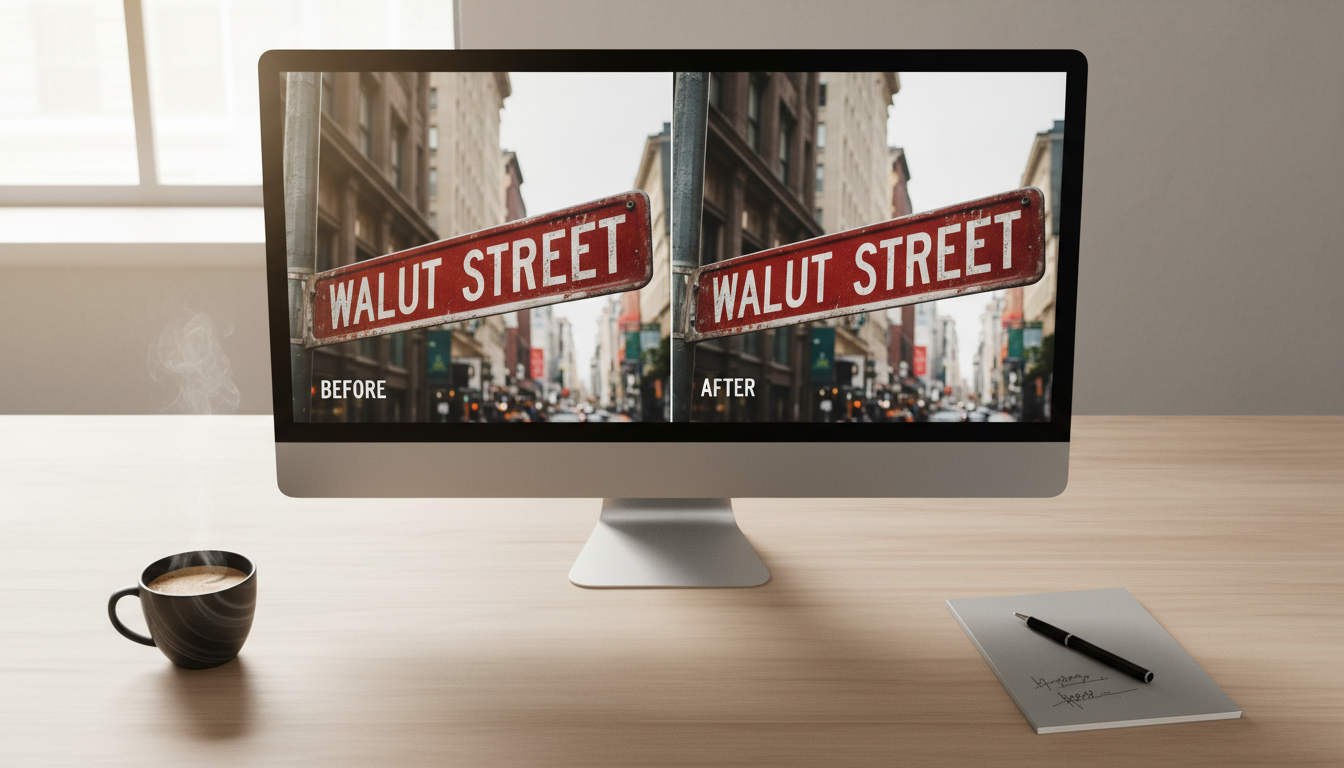
Maybe it is a typo in a street sign, a date that needs updating on a flyer, or you simply want to translate a menu item into another language. In the past, trying to edit text in image files was a nightmare. You had to act like a digital surgeon, painstakingly cloning background pixels to cover the old text, then scrolling through hundreds of fonts hoping to find a match that didn't look like a cheap sticker pasted on top.
But the landscape has changed. With the rise of generative AI and advanced image processing, modifying text within a static image is no longer a chore reserved for Photoshop masters. It is now something anyone can do in seconds.
In this comprehensive guide, we are going to explore the best methods to edit text in images, ranging from manual professional software to the latest AI-driven breakthroughs. We will also introduce you to a game-changing tool: Haimeta, created by Haimeta, which is redefining how we interact with visual content.
The Evolution of Text Editing: Why It Used to Be So Hard
Before we dive into the "how-to," it is important to understand why editing text in a flattened image (like a JPG or PNG) is difficult. Unlike a Word document or an editable PDF, an image doesn't "know" that those pixels are letters. To a computer, a letter "A" is just a collection of colored dots, no different from the tree or building behind it.
Traditionally, editing text required three distinct, difficult steps:
- Removal: You had to erase the old text while artificially recreating the background texture, gradients, and noise behind it.
- Matching: You had to identify the exact font family, weight, and style.
- Blending: You had to apply perspective warps, shadows, and lighting effects to make the new text look like it belonged in the scene.
If you failed at any of these steps, the image looked fake. Fortunately, technology has caught up.
Top 5 Methods to Edit Text in Images
Let’s explore the most effective ways to handle this task today, starting with the most efficient modern solution.
1. The AI Solution: Haimeta (The Easiest & Most Accurate)
If you want speed without sacrificing quality, generative AI is the answer. Specifically, the Text Editing Tool created by Haimeta is designed exactly for this purpose. Unlike standard photo editors that just layer text on top, Haimeta actually understands the context of your image.
How it works: The workflow is incredibly conversational and intuitive. You don't need to fiddle with layers or clone stamps.
- Upload: Simply drop your image into the tool.
- Prompt: Tell the system exactly what you want to change. For example, "Change the date on the poster to 2024" or "Replace the street sign text with 'Welcome Home'."
- Create: Click the button, and the AI handles the rest.
The Secret Sauce: Nano Banana2 What makes Haimeta distinct from generic editors? It is integrated with the latest image model known as Nano Banana2. We won't bore you with heavy technical jargon, but here is what that means for you practically:
- Font Consistency: The model analyzes the existing text in the image. It detects the serif, the kerning (spacing), and the weight. When it generates the new text, it mimics the original font style perfectly. You don't need to search for the font name; Nano Banana2 figures it out visually.
- Background Preservation: This is usually the hardest part. If the text is over a complex gradient, a brick wall, or a wrinkled shirt, Haimeta preserves that texture. It doesn't just paint a flat color box over the old text; it weaves the new pixels into the existing environment.
- No "Tech" Filter: Many AI tools give images a glossy, hyper-realistic, or "sci-fi" look that screams "AI-generated." Haimeta is tuned to maintain natural photography styles, ensuring your edit looks like a raw photo, not a digital painting.
2. The Professional Route: Adobe Photoshop
For decades, Photoshop has been the gold standard. If you are a graphic designer, this is likely already in your toolkit.
- The Process: You would typically use the "Content-Aware Fill" to remove the old text. Then, use the "Match Font" feature to find a similar typeface on your system. Finally, you type the new text and use transformation tools to align the perspective.
- The Pros: Ultimate control. You can tweak every single pixel.
- The Cons: It is expensive and has a steep learning curve. Fixing text on a complex background can take 20–30 minutes per image, whereas AI tools do it in seconds.
3. Mobile Apps (PicsArt / Snapseed)
For quick edits on the go, mobile apps are popular options for social media managers.
- The Process: In Snapseed, you use the "Healing" tool to scrub out the text. In PicsArt, you can place a colored shape over the text and type over it.
- The Verdict: These are great for removing blemishes, but they struggle with replacing text seamlessly. Often, the "healed" area looks blurry, and the new text sits flat on top of the image without matching the lighting or grain of the photo.

4. Online OCR & PDF Editors (Canva / Adobe Acrobat)
If your image is actually a scanned document or a clean graphic (like a digital flyer), Optical Character Recognition (OCR) tools are useful.
- The Process: You upload the image, the software converts it to editable text fields, and you type your changes.
- The Limitation: This works wonderfully for white backgrounds and standard documents. It fails miserably for photographs, real-world scenes, or text on textured surfaces because these tools prioritize the text, not the visual integrity of the image.
5. Paint Over (The "Quick & Dirty" Method)
We mention this only because people still do it. This involves using MS Paint or a basic editor to draw a solid color box over the text and typing new words in a standard font like Arial.
- Why avoid it: It looks unprofessional. Unless you are making a purposefully low-quality meme, this destroys the aesthetic value of your image.
Deep Dive: Why Contextual Awareness Matters
When you want to edit text in image files effectively, context is everything. Let's look at a few scenarios where a tool like Haimeta excels compared to traditional methods.
Scenario A: The wrinkled T-Shirt
Imagine a photo of a person wearing a T-shirt with a slogan. The fabric is folded and wrinkled.
- Traditional Method: You have to warp your text manually to follow the curves of the wrinkles. It is incredibly difficult to get right.
- Nano Banana2 Approach: The model understands 3D geometry. When you ask it to change the slogan, it generates the new letters with the wrinkles applied. It understands that the text is on a curved surface, not a flat plane.
Scenario B: The Neon Sign
You have a picture of a café at night with a neon sign glowing against a brick wall.
- Traditional Method: You have to add outer glow effects, drop shadows, and color dodges to make the text look like light.
- Nano Banana2 Approach: The model recognizes "glow" as a property of the text. It generates the new letters with the appropriate luminance and light spill on the surrounding bricks.
Step-by-Step Guide to Using Haimeta
Since Haimeta offers the best balance of ease and professional quality, let's look at a detailed workflow to ensure you get the best results.
- Navigate: Go to the Edit Tool.
- Selection: Unlike some tools where you have to manually brush over the area, often you can just describe the change. However, for maximum precision, if there is a specific region, ensure your crop or focus is clear.
- The Prompt Strategy: Be descriptive. Instead of just typing the new word, describe the vibe if necessary.
- Good Prompt: "Change text to 'SALE'."
- Better Prompt: "Change the text on the wooden sign to 'SALE', keeping the rustic font style."
- Review: The system creates the image. Check the edges of the text. Because it uses the Nano Banana2 model, you should see that the noise (film grain) on the letters matches the rest of the photo. This prevents the "clean digital text on a grainy photo" look that ruins immersion.

Best Practices for Text Editing in 2026
Regardless of the tool you choose, keep these principles in mind to ensure your images look authentic.
- Watch the Resolution: Always edit in the highest resolution possible. If you edit a low-res image and then try to upscale it, the text will look pixelated differently than the background.
- Lighting Direction: If the sun is coming from the left, your text should have a slight highlight on the left and shadow on the right. High-end AI tools handle this automatically, but manual editors must do this by hand.
- Color Cast: Real white text in a photo is rarely pure white (#FFFFFF). It usually picks up the color of the ambient light (e.g., slightly blue in daylight, orange in tungsten light).
Conclusion
The days of spending hours in complex photo editing software just to fix a typo or update a date are over. Whether you are a social media manager, a marketer, or just someone trying to perfect a personal photo, the ability to edit text in image formats is now at your fingertips.
While traditional tools like Photoshop offer granular control, they lack the speed and "visual understanding" that modern AI offers. Tools like Haimeta bridge the gap, offering a user-friendly interface backed by the powerful Nano Banana2 model. This ensures that your edits aren't just overlays—they are complete regenerations of the image area, maintaining font, lighting, and texture consistency.
Don't let a wrong word ruin a perfect picture. Experience the future of image editing today.
Ready to transform your images? Try the Haimeta Text Editing Tool created by Haimeta and see the magic for yourself.